The Secret to Pristine Wood: How to Clean Wooden Furniture Without Scratches Fast
 Befrey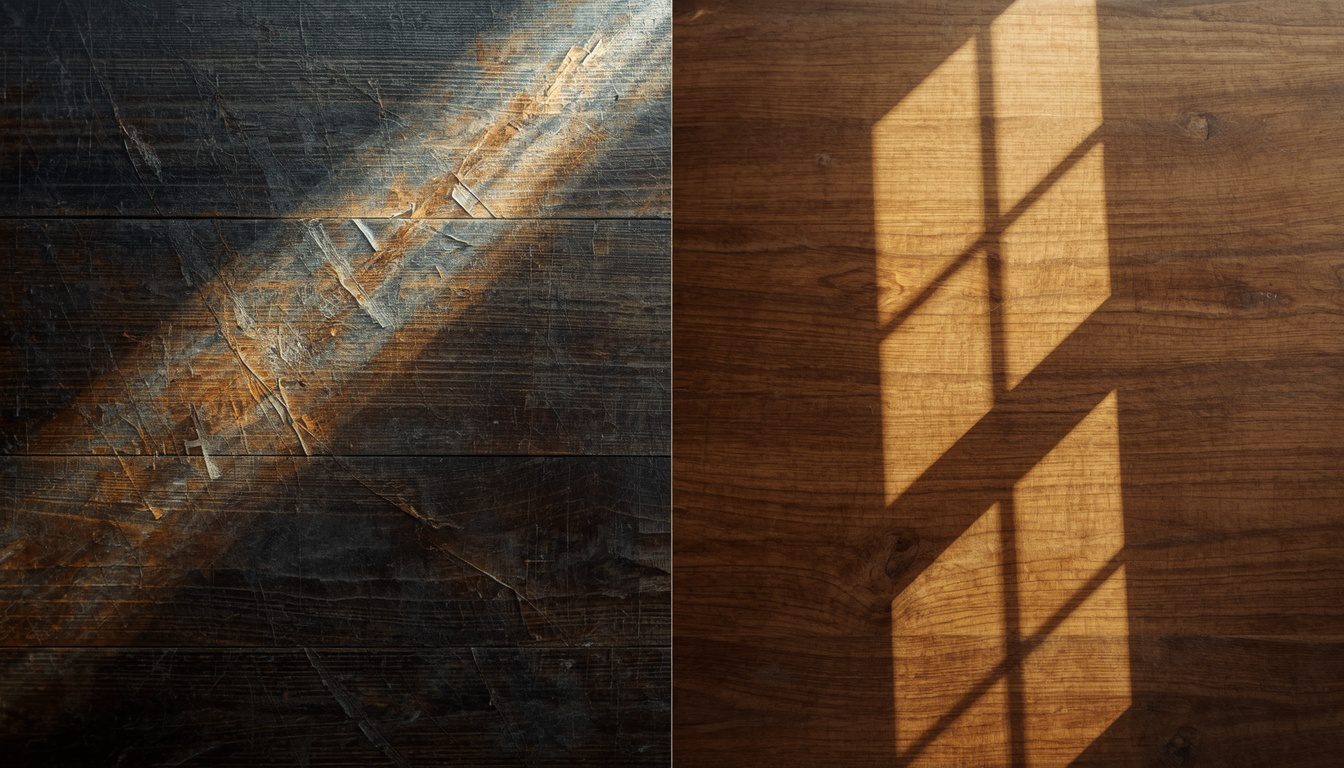
Wooden furniture brings an irreplaceable warmth and timeless elegance into our living spaces, yet maintaining that flawless luster can feel like navigating a high-stakes minefield. Property owners often inadvertently ruin expensive heirlooms or contemporary statement pieces simply by using the wrong cloth, an abrasive cleaner, or an improper wiping technique. Discovering how to clean wooden furniture without scratches is the ultimate secret to preserving your investment, ensuring your dining tables, dressers, and antique cabinets remain free from micro-abrasions and hazy finishes. By mastering the delicate balance between effective dirt removal and surface protection, you can confidently restore your wood’s original radiance without ever risking its structural or aesthetic integrity.
Best ways to dust solid wood tables
Dusting might seem like a straightforward, low-risk household chore, but dry dusting is actually one of the primary culprits behind microscopic surface scratches. Dust particles are not just soft lint; they consist of tiny, sharp fragments of rock, outdoor soil, pollen, and dead skin cells that act exactly like fine-grit sandpaper when dragged across a polished wooden finish. The best ways to dust solid wood tables always involve a damp or statically charged approach that lifts the debris away from the surface rather than grinding it into the lacquer.
Microfiber cloths are universally recognized as the gold standard by preservation experts because their split fibers create a microscopic hook system that traps dust entirely. Before you touch your furniture, lightly mist the microfiber cloth with plain water or a specialized dust-grabbing spray so it is barely damp to the touch. Avoid traditional feather dusters entirely, as their sharp quills can easily break through the feathers and gouge your delicate finishes. Always glide your damp cloth in straight, gentle lines following the natural direction of the wood grain to ensure that even if a stray particle escapes, any micro-frictional mark remains completely invisible to the human eye.
Gentle cleaning solutions for antique dressers
Antique dressers require an extraordinary level of care because their historic finishes, such as shellac, varnish, or traditional oil-rubbed wax, are highly susceptible to chemical breakdown. When dealing with these prized family heirlooms, you must avoid harsh commercial aerosols that contain silicones or synthetic solvents, as these ingredients leave a stubborn, sticky film that permanently alters the wood’s breathability. Choosing gentle cleaning solutions for antique dressers means prioritizing pH-neutral, non-abrasive mixtures that emulsify surface body oils and grime without stripping away the historic patina.
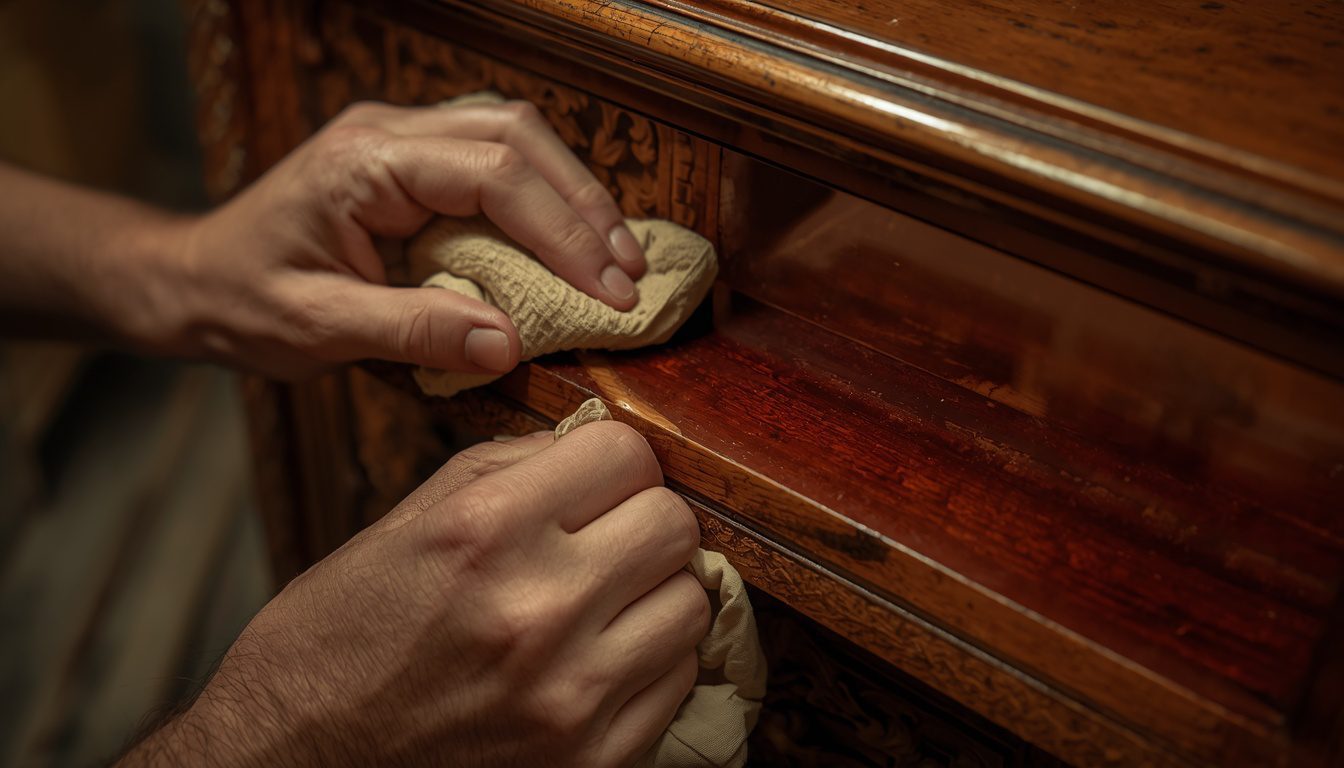
A time-tested, professional-grade solution involves diluting a single drop of pure, oil-based Murphy’s volatile-free vegetable soap or a mild liquid dish soap into a large bowl of warm distilled water. Dip your ultra-soft cotton or microfiber cloth into this mild soapy mixture, wring it out until it is thoroughly damp rather than soaking wet, and carefully wipe down the dresser’s drawers and ornate carvings. Instantly follow up this damp pass with a secondary, completely dry cloth to eliminate any standing moisture that could warp the wood or loosen ancient joinery glues. For deeply embedded historical grime or sticky residue, a highly diluted mixture of equal parts distilled white vinegar and water can be used cautiously, but it should never be left on the antique surface for more than a few fleeting seconds.
Step by step guide to polish mahogany wood
Mahogany wood is celebrated for its deep reddish-brown hues and its mesmerizing, chatoyant grain patterns, but its reflective, mirror-like finish makes it highly vulnerable to noticeable surface marring. Executing a meticulous step by step guide to polish mahogany wood ensures that you nourish the underlying timber while adding a sacrificial layer of protection against daily environmental wear. Polishing should never be a weekly routine; rather, it is a seasonal ritual performed only two to three times a year to avoid heavy product buildup that darkens and dulls the timber.
First, ensure the mahogany piece is entirely free of surface dust and grease by performing a gentle wipe-down with a damp microfiber towel. Next, select a high-quality, pure beeswax or a premium carnauba paste wax rather than cheap, silicone-heavy liquid polishes that create a synthetic, unremovable glaze. Apply a coin-sized portion of the paste wax inside a clean, folded cotton cloth—never apply the polish directly onto the mahogany wood itself—and work it across the surface using small, overlapping circular motions. Allow the wax to dry for roughly fifteen to twenty minutes until it forms a faint, hazy matte film over the timber. Finally, take a fresh, completely dry microfiber cloth and buff the surface vigorously along the direction of the grain, transforming the dull haze into a deep, luminous, and completely scratch-free glow.
How to remove sticky residue from oak timber
Oak timber is incredibly durable and boasts a beautiful, prominent open-grain texture, but its porous nature makes treating sticky spills, adhesive residues, or spilled candle wax uniquely challenging. When dealing with stubborn, tacky messes, your immediate instinct might be to reach for a plastic scraper or a kitchen scrubbing pad, but these rigid tools will instantly leave gouges and permanent swirl marks on your wood’s protective topcoat. Learning how to remove sticky residue from oak timber requires utilizing chemical emulsification and gentle thermal techniques instead of brute physical force.
If the sticky substance is a hardened adhesive or wax, place a few ice cubes inside a sealed plastic zipper bag and rest it directly on top of the residue for five minutes to make the substance brittle. Once frozen, you can gently pop the hardened mass off the oak using the soft edge of an old credit card, keeping the card at a low thirty-degree angle to avoid catching the wood fiber. For soft, gooey residues like tape residue or syrup, saturate a cotton cotton pad with a natural, skin-safe oil such as mineral oil, sweet almond oil, or even a specialized citrus-based cleaner. Rub the oil-soaked pad over the sticky area in gentle circles, allowing the oil to break down the adhesive’s chemical bonds for ten minutes before wiping everything clean with a mild soapy cloth.
Natural oils for rejuvenating walnut furniture
Walnut furniture is highly prized for its rich, chocolate tones and dramatic grain variations, but prolonged exposure to dry indoor air and sunlight can leave it looking parched, faded, and highly prone to micro-cracking. To bring back its original depth without scratching or altering the wood’s inherent cellular structure, you should bypass synthetic chemical glosses and embrace organic nourishment. Utilizing natural oils for rejuvenating walnut furniture is an exceptional way to deeply saturate the parched wood fibers while building a natural, resilient shield against moisture and dust.
Pure tung oil and raw linseed oil are the preferred choices among master woodworkers because they are drying oils that naturally cure into a hard, protective, non-sticky satin finish over time. To revive your walnut table or desk, apply a small amount of the chosen natural oil to a clean lint-free cloth and wipe it evenly over the furniture piece, ensuring you follow the straight lines of the grain. Let the rich oil penetrate into the walnut wood for approximately thirty minutes, allowing the timber to drink in the natural nutrients it needs. After this soaking period, take a clean, dry cloth and firmly wipe away every single drop of excess unabsorbed oil from the surface to prevent the finish from becoming gummy or attracting floating dust particles.
Safe methods for lifting water rings off veneer
Veneer furniture consists of a paper-thin layer of premium hardwood bonded securely to an underlying substrate like MDF or plywood, meaning it possesses a very thin protective finish that can easily be ruined by aggressive sanding or scrubbing. White water rings occur when moisture gets trapped beneath the top layer of wax or lacquer, creating an unsightly, cloudy blemish that ruins the piece’s aesthetic harmony. Implementing safe methods for lifting water rings off veneer involves using gentle, controlled heat or mild, non-abrasive moisture-wicking agents that draw out the trapped water without scratching the thin wood layer.
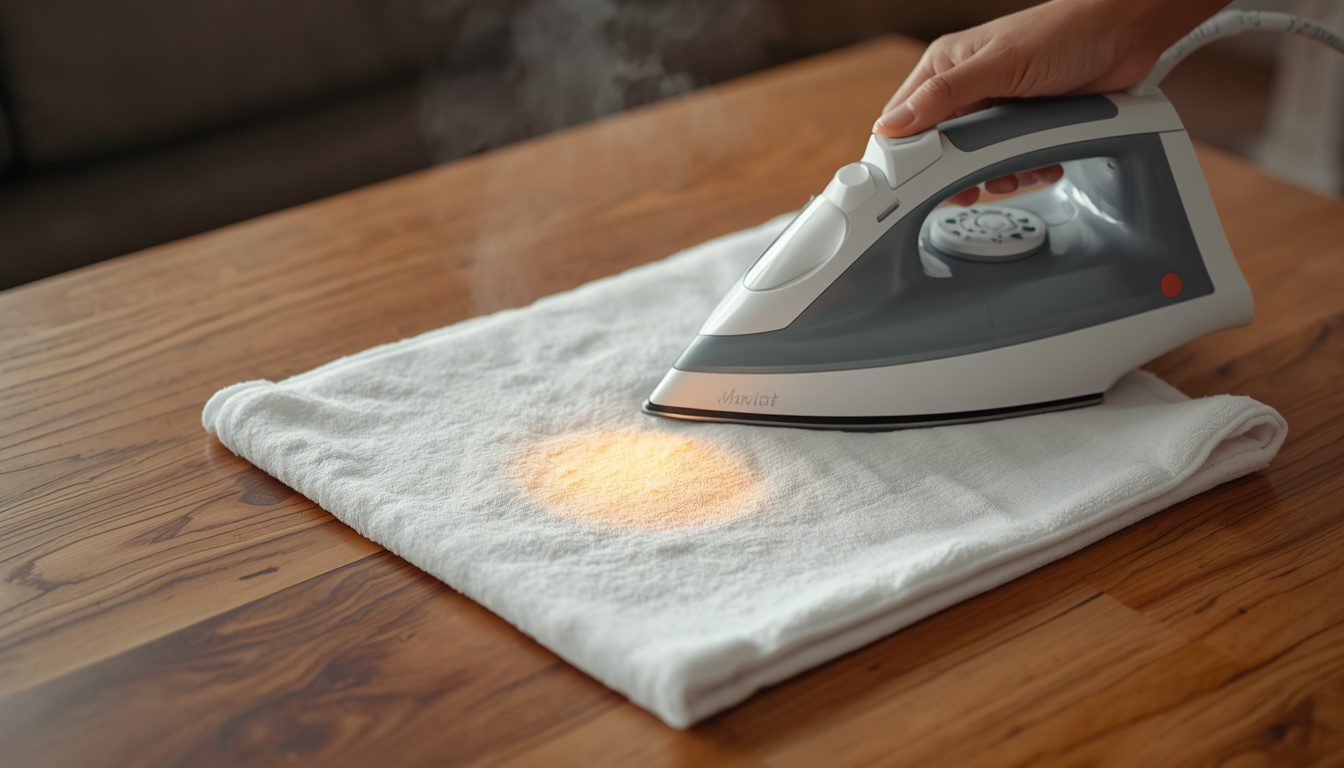
One highly effective, non-abrasive remedy is to mix equal parts of regular white paste toothpaste (not the gel variety) with standard baking soda to create a ultra-mild, smooth polishing paste. Dab a tiny amount of this paste onto a damp cloth and rub it very gently over the white water ring for one to two minutes, allowing the mild abrasive action to open the lacquer just enough to release the trapped moisture. Alternatively, lay a clean, dry cotton towel directly over the water stain and pass a clothing iron, set to low heat with absolute zero steam, across the towel in continuous, brief intervals of ten seconds. The gentle heat transfers through the protective cloth towel, warming the wood finish underneath and causing the trapped water to safely evaporate into the air without scratching or delaminating the veneer.
Summary
Cleaning wooden furniture without inflicting permanent, unsightly scratches requires abandoning aggressive physical scrubbing and harsh synthetic chemicals in favor of soft materials and strategic cleaning agents. Dust should always be captured using a lightly dampened microfiber cloth moving with the grain, rather than being pushed around dry. Antiques demand pH-neutral, highly diluted soapy solutions, while specific hardwoods like mahogany benefit from seasonal beeswax polishing. Sticky residues can be safely emulsified using natural oils or hardened with ice, parched walnut can be revitalized with pure tung or linseed oils, and delicate veneers can be freed from white water rings using low, dry iron heat. By treating your wood with patience, utilizing straight-line wiping motions, and choosing non-abrasive tools, you ensure your furniture maintains its pristine beauty for generations to come.
How to Remove Odor from Sink Drain Quickly – Secret Fast Fixes That Actually Work
How to Deep Clean a Toilet and Get Rid of Water Scale Without Chemicals Fast and Naturally
How to Remove Limescale from a Shower Without Chemicals
FAQ
Can I use vinegar to clean my wooden furniture regularly?
While vinegar is an excellent natural cleaner, its acidic nature can gradually break down and dull your wood’s protective lacquer or wax finish over time. Use it only when highly diluted with water for heavy grime removal, and never as a daily or weekly dusting spray.
Why does my wooden table look cloudy after I polish it?
A cloudy appearance is usually caused by product buildup, often from using silicone-based aerosol sprays. This creates a sticky film that traps ambient dust and oils; it can be resolved by cleaning the piece with a mild, oil-breaking soap and switching to a pure paste wax.
Is microfiber truly safe for high-gloss wooden finishes?
Yes, high-quality microfiber is perfectly safe because its split-fiber technology lifts and traps abrasive dust particles inside the cloth instead of dragging them across the wood. Always ensure the cloth is clean and free of trapped debris from previous chores.
How do I tell the difference between a scratch and a finish crack?
A surface scratch is typically a sharp, localized indentation caused by a physical object dragged over the wood. Finish cracks, or “crazing,” appear as a widespread web of tiny hairline fractures caused by age, fluctuating humidity, or prolonged UV sun exposure.
Can I use olive oil from my kitchen to condition my wood?
Avoid using culinary olive oil or vegetable oils on wooden furniture because they are non-drying oils. They never fully dry or cure, meaning they will eventually turn rancid, emit a foul odor, and create a sticky surface that permanently attracts dirt and pet hair.
CTA (Call to Action)
Protecting your treasured wooden investments doesn’t have to be a stressful guessing game. Take a quick look around your home today, identify your most vulnerable wooden surface, and replace your old feather duster with a clean, damp microfiber cloth for your very next cleaning session. If you found these expert preservation secrets helpful, feel free to share this guide with fellow homeowners and subscribe to our newsletter for weekly, damage-free home maintenance strategies!