Befrey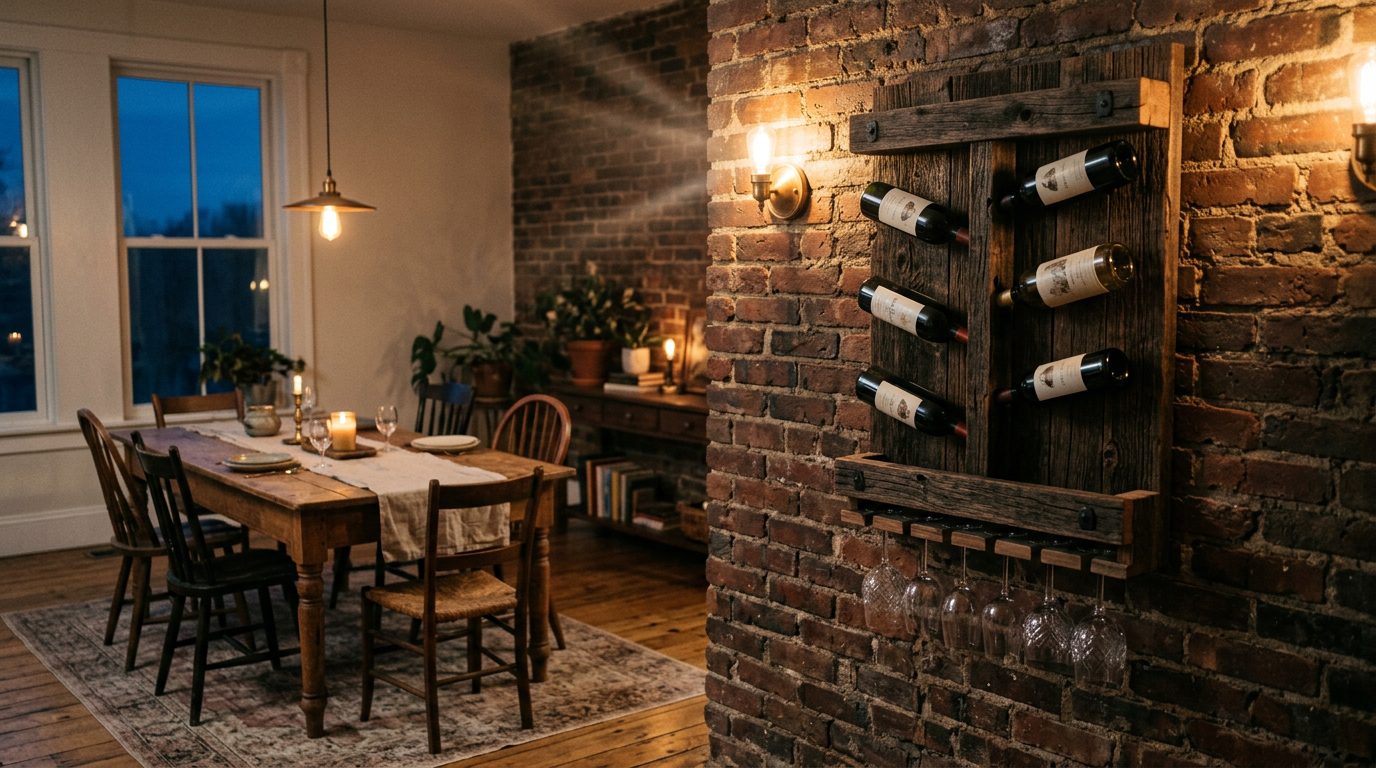
Learning how to build a homemade wine rack from scrap wood is the ultimate secret to transforming discarded offcuts into a luxurious, functional centerpiece for your dining room or kitchen. Most wine lovers store their favorite vintages upright on pantry shelves or inside warm kitchen cabinets, completely unaware that improper storage destroys cork integrity and spoils fine wine. Transforming reclaimed timber or leftover lumber scraps into a custom wine display allows you to protect your collection while adding rich, rustic charm to your interior decor. However, constructing a durable storage rack requires more than randomly nailing leftover boards together. Skimping on bottle angle calculations, failing to locate wall studs, or cutting inaccurate neck notches can cause a top-heavy structure to collapse, shattering expensive bottles across your floor. Understanding the balance between structural load management, precise bottle geometry, and artistic wood finishing is what turns simple wood scraps into an heirloom-quality wine display.
Unlocking the hidden potential of reclaimed lumber and pallet offcuts
Every woodworking shop, garage corner, and construction dumpster holds a treasure trove of forgotten lumber waiting for a second life. Crafting a DIY wine rack using pallet wood or pine offcuts allows you to build custom home decor for virtually zero material cost. Reclaimed timber possesses unique aesthetic character—including natural nail holes, weathered grain patterns, and saw kerf marks—that modern factory lumber simply cannot replicate. Exploring upcycled wood wine rack project ideas opens up endless design possibilities, from compact tabletop caddies to soaring floor-to-ceiling accent walls.
When choosing raw materials from your scrap pile, focus on structural soundess rather than surface perfection. Softwoods like pine or fir are easy to cut and drill, while salvaged oak or walnut offcuts offer exceptional density and grain contrast. If you are working in tight quarters, designing a modular wooden wine rack design for small spaces allows you to expand your storage capacity over time as your collection grows. Transforming raw offcuts into a functional masterpiece bridges the gap between eco-friendly crafting and high-end home interior design.
Evaluating scrap wood stability and checking for chemical contaminants
Not all reclaimed lumber is safe for indoor living spaces or kitchen environments. Pallets marked with “HT” (Heat Treated) stamps are safe for home use, whereas those stamped with “MB” (Methyl Bromide) contain toxic chemical pesticides and should never be brought indoors. Always inspect your scrap timber for hidden iron nails, deep structural splits, and rot before running boards through your power tools.
Designing compact storage for tight apartment kitchens
Urban kitchens often lack the floor space for massive free-standing wine cabinets. Executing a minimalist scrap wood wine holder tutorial focuses on slim profiles, using minimal surface area to suspend bottles securely. Designing compact units that nestle under kitchen cabinets or fit inside narrow pantry corners ensures every square inch of living space is utilized efficiently.
The critical science of bottle angles and cork preservation physics
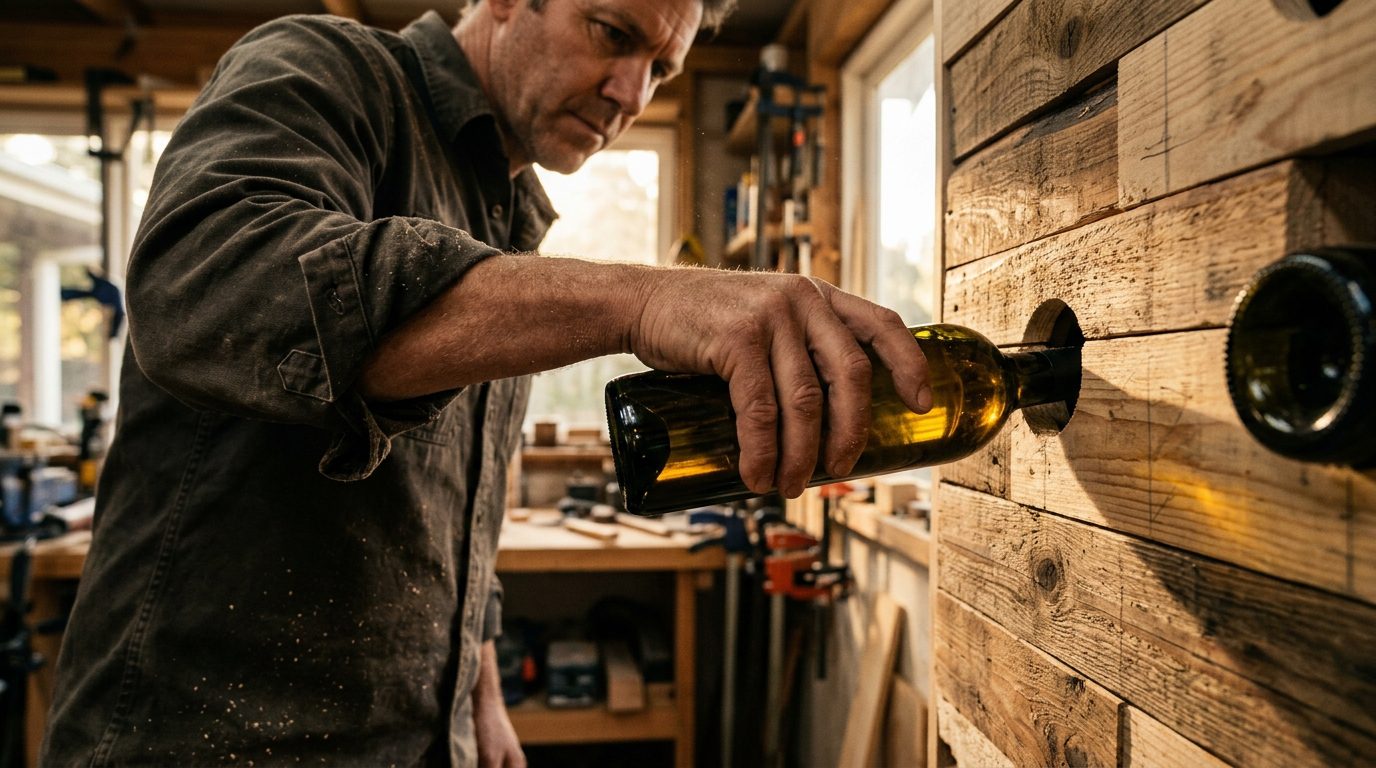
Building a wine holder is not merely an aesthetic endeavor; it is a vital functional system designed to preserve liquid quality over month or years. A fundamental rule of wine storage requires keeping the cork continuously damp with liquid to prevent it from drying out, shrinking, and allowing oxygen to enter the bottle. Understanding how to tilt wine bottles in homemade racks requires angling the bottle down between ten and fifteen degrees, ensuring liquid remains in constant contact with the inner cork seal.
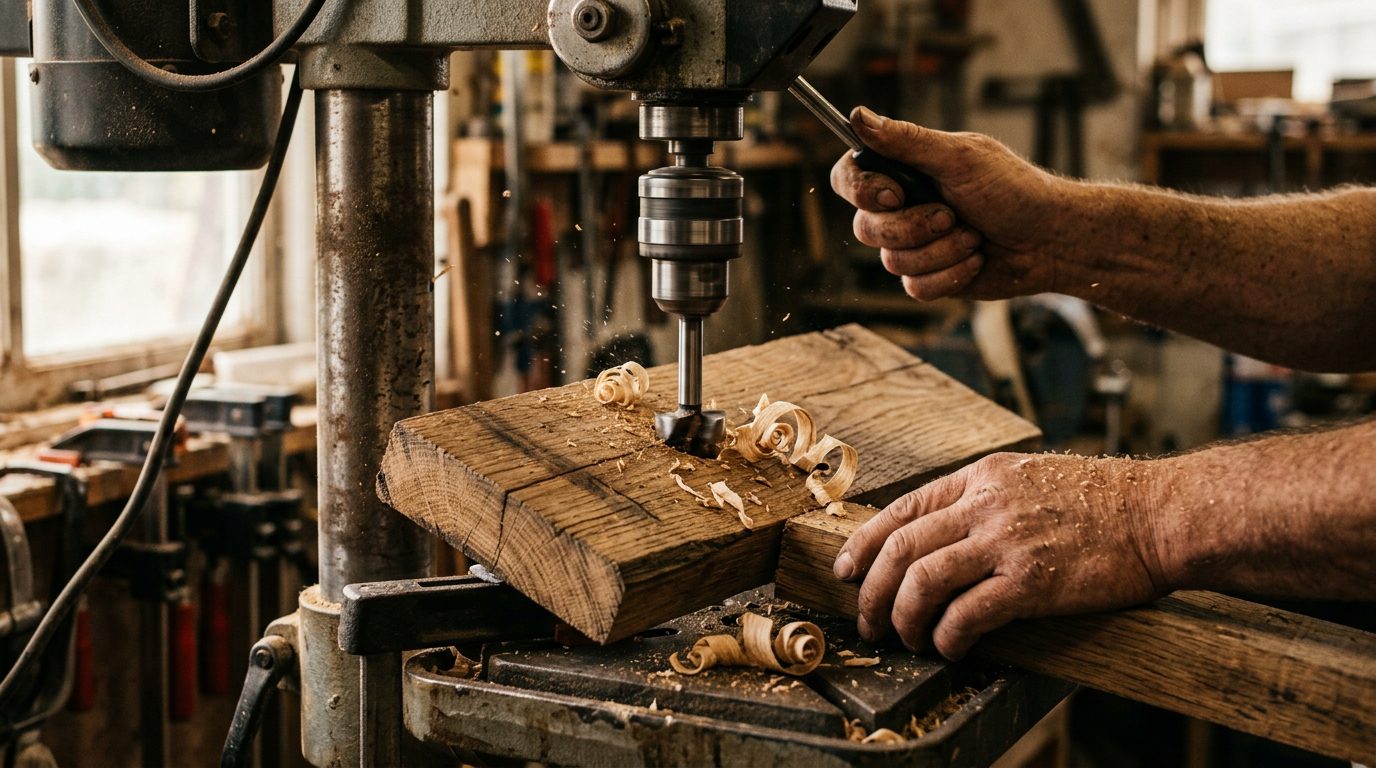
In addition to bottle tilt, precision hole sizing dictates whether a bottle sits firmly or wobbles dangerously. Standard wine bottle neck cutout dimensions require a front neck opening between one and one-eighth inches to one and a quarter inches, paired with a rear body receiver hole measuring three to three and a half inches. Mastering how to drill wine bottle holes in wood involves using sharp Forstner bits or hole saws attached to a drill press, ensuring clean entry cuts without tearing fragile wood fibers.
Preventing bottle slippage and managing varied bottle shapes
Wine bottles are not universally identical; burgundy, champagne, and Bordeaux bottles feature subtle variations in shoulder width and base diameter. Designing slightly larger rear cutouts with gentle internal bevels accommodates oversized champagne bases without pinching. Adding subtle rubber bumper pads or carved micro-grooves inside the support holes adds tactile friction, keeping slick glass bottles locked securely in place.
Calculating weight distribution for multi-bottle displays
A full 750ml wine bottle weighs approximately three pounds, meaning a twelve-bottle rack exerts over thirty-six pounds of continuous downward force. When designing a free standing wooden wine bottle holder DIY project, broaden the base footprint significantly beyond the top frame to prevent top-heavy tipping. Structural balance keeps your investment safe during unexpected knocks or room vibrations.
Designing a vertical wall mounted wine rack using scrap wood
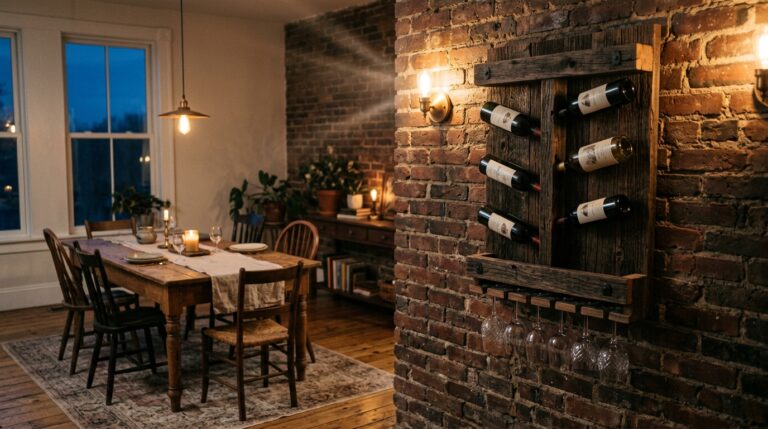
When floor space is at a premium, elevating your wine collection onto an accent wall creates a dramatic visual feature. Constructing a vertical wall mounted wine rack using scrap wood maximizes vertical room height while keeping countertops completely clear. Vertical displays line up bottles either in a ladder arrangement or alternating side-by-side staggered channels, showcasing artistic bottle labels clearly.
For those wanting a sleek, space-saving solution, executing a wall mounted wine rack from reclaimed timber involves mounting thick wood faceplates directly onto a sturdy rear spine. You can insert iron pegs, heavy wooden dowels, or precise angled cutouts to suspend bottles parallel to the wall surface. Integrating a hanging wine glass holder underneath wine rack bases creates an all-in-one entertainment station where stemware and vintages sit ready for immediate service.
Securing heavy timber structures safely to wall framing
Heavy wall displays filled with liquid must never rely solely on plastic drywall anchors or hollow wall toggles. Knowing how to secure heavy wine racks to drywall studs requires locating solid two-by-four timber framing using a reliable stud finder and driving heavy-duty three-inch cabinet screws directly through the main support spine. If stud alignment does not match your desired wall placement, mount a horizontal timber ledger board across two studs first to serve as a solid mounting anchor.
Integrating stemware slots into lower shelf assemblies
Learning how to make a wine bottle shelf with glass slots adds multi-functional versatility to your scrap wood build. Using a router or T-slot bit, carve smooth T-shaped channels along the bottom shelf face, allowing glass bases to slide in upside down. This suspended storage keeps delicate crystal stemware dust-free and ready for immediate use.
Crafting a countertop wine storage rack DIY instructions for beginners
If you prefer a portable display that can be moved between the kitchen island and patio table, a countertop wine storage rack DIY instructions project is the perfect weekend build. Tabletop designs require smaller scrap pieces, making them ideal for using up short offcuts left over from larger woodworking projects. A classic A-frame or stacked grid design holds four to six bottles safely while acting as an eye-catching table centerpiece.
Following easy scrap wood wine rack plans for beginners involves cutting straight, matching side panels and joining them with simple cross-slats or internal dowels. Focus on making repeatable, identical cuts using a miter saw stop block so the rack sits perfectly square without rocking on flat countertop surfaces. A balanced countertop unit keeps your everyday drinking bottles organized and within arm’s reach during dinner preparation.
Simple pocket hole joinery for clean exterior lines
Using pocket hole joinery allows you to assemble tight, rigid right-angle joints while keeping screw heads completely hidden from view. Drilling pocket holes on the underside or interior faces of scrap boards preserves the clean exterior wood grain. Filling visible pocket holes with matching wood plugs creates a seamless, professional finish.
Incorporating hidden joinery techniques for wooden wine racks
For woodworkers wanting a refined, fastener-free look, utilizing hidden joinery techniques for wooden wine racks elevates simple scraps into fine furniture. Mortise and tenon joints, half-lap cross joints, or simple wooden dowel pins provide incredible structural shear strength without relying on metal screws. Precision joinery creates clean lines that highlight natural timber beauty.
Sanding, finishing, and choosing the best finish for reclaimed wood wine racks
Raw, reclaimed wood often features rough surfaces, splinters, and micro-cracks that require careful preparation before home installation. Begin by thoroughly cleaning off dirt using a wire brush, then sand surfaces through progressive grit stages: start at 80-grit to remove severe rough spots, proceed to 120-grit for smoothing, and finish at 220-grit for a silky touch. Be careful not to sand away beautiful saw marks, nail discolorations, or natural weathering patterns that give reclaimed wood its unique charm.
Selecting the best finish for reclaimed wood wine racks depends on your desired final aesthetic. Natural penetrating oils like tung oil, linseed oil, or Danish oil absorb deep into dry wood fibers, highlighting rich grain contrast without leaving a plastic-like film. For a weathered, historic look, applying dark antiquing wax into open grain pockets emphasizes aged character. If your wine rack sits near a humid kitchen sink, applying a clear matte polyurethane shield protects raw timber from water spots and wine drips.
Highlighting natural rustic charm through burning and distressing
If your scrap wood pile consists of plain, characterless new pine offcuts, you can artificially age the timber using simple distressing techniques. Lightly scorching the wood surface with a propane torch brings out the dark grain lines instantly. Hitting the surface lightly with a heavy chain or wire brush mimics decades of natural wear, giving new wood a rich, historic feel.
Protecting raw timber against wine drips and staining
Red wine spills can permanently stain untreated, porous scrap wood. Applying a protective topcoat seals surface pores, allowing accidental spills to be wiped clean with a damp cloth without leaving purple stains behind. A durable finish keeps your custom rack looking pristine through years of dinner parties.
Customizing rustic wooden wine display ideas for kitchen spaces
Once your custom wine rack is fully assembled, sanded, and sealed, integrating it into your home decor completes the transformation. Exploring rustic wooden wine display ideas for kitchen spaces allows you to create a cohesive aesthetic that matches existing cabinetry, floating shelves, or exposed brickwork. Mounting a vertical rack alongside an open coffee bar or floating kitchen shelf unifies your culinary preparation zone into an inviting entertainment hub.
For true wine enthusiasts, learning how to make a simple wooden wine holder provides a satisfying entry point into custom home furniture crafting. You can customize your build with branded wood-burned monograms, integrated LED backlight strips, or copper accent hardware to suit your personal style. Building your own wine display out of scrap wood saves money, reduces waste, and produces a one-of-a-kind home feature that starts conversations every time you uncork a bottle.
DIY floating shelves with hidden brackets: Secret?
Wooden planters for balcony or patio: Are you making this mistake?
Summary
-
Building a homemade wine rack from scrap wood transforms discarded offcuts into a functional, eco-friendly home centerpiece.
-
Angling wine bottles downward between 10 and 15 degrees keeps corks constantly moist, preventing shrinkage and wine spoilage.
-
Always use heat-treated (HT) reclaimed wood for indoor projects, avoiding chemical-treated (MB) industrial pallets entirely.
-
Anchor heavy wall-mounted wine racks directly into two-by-four wall studs using heavy-duty cabinet screws to prevent structural collapse.
-
Utilize penetrating oils or matte polyurethanes to protect raw reclaimed wood fibers from red wine drips and moisture damage.
-
Precision neck cutouts (1.25″) and base holes (3.25″) ensure smooth, secure support for various bottle styles and sizes.
FAQ
Is it safe to use pallet wood to build an indoor wine rack? Yes, but only if the pallet bears an “HT” (Heat Treated) stamp. Avoid pallets stamped with “MB” (Methyl Bromide), as they contain toxic chemical pesticides that can off-gas inside your home.
Why do wine bottles need to be stored at a slight downward tilt? Tilting the bottle keeps the liquid in continuous contact with the cork. This prevents the cork from drying out, shrinking, and allowing air into the bottle, which would oxidize and ruin the wine.
What drill bit is best for making clean circular bottle holes in scrap wood? A sharp Forstner bit or heavy-duty hole saw paired with a drill press is ideal. Forstner bits cut smooth, flat-bottomed holes without tearing or splintering the edges of fragile or reclaimed wood.
How do I make sure my wall-mounted wine rack doesn’t tear out of the drywall? Always drive long structural lag or cabinet screws directly into the center of wooden wall studs. Never rely on standard plastic drywall anchors or hollow wall toggles to support heavy wine collections.
What is the best finish to bring out the grain in raw reclaimed timber? Penetrating oil finishes like Danish oil or pure tung oil absorb deep into dry wood fibers, deepening natural color contrast and highlighting historical saw marks without forming a fake plastic sheen.
Call-To-Action (CTA)
Ready to clear out your garage scrap pile and build a stunning, custom wine display for your home? Pick out your best timber offcuts, measure your favorite bottle shapes, and start crafting your custom wine rack this weekend! Share this complete master guide with fellow DIY builders, and subscribe to our woodworking newsletter for more step-by-step upcycling tutorials, custom furniture plans, and home workshop hacks delivered straight to your inbox!