Befrey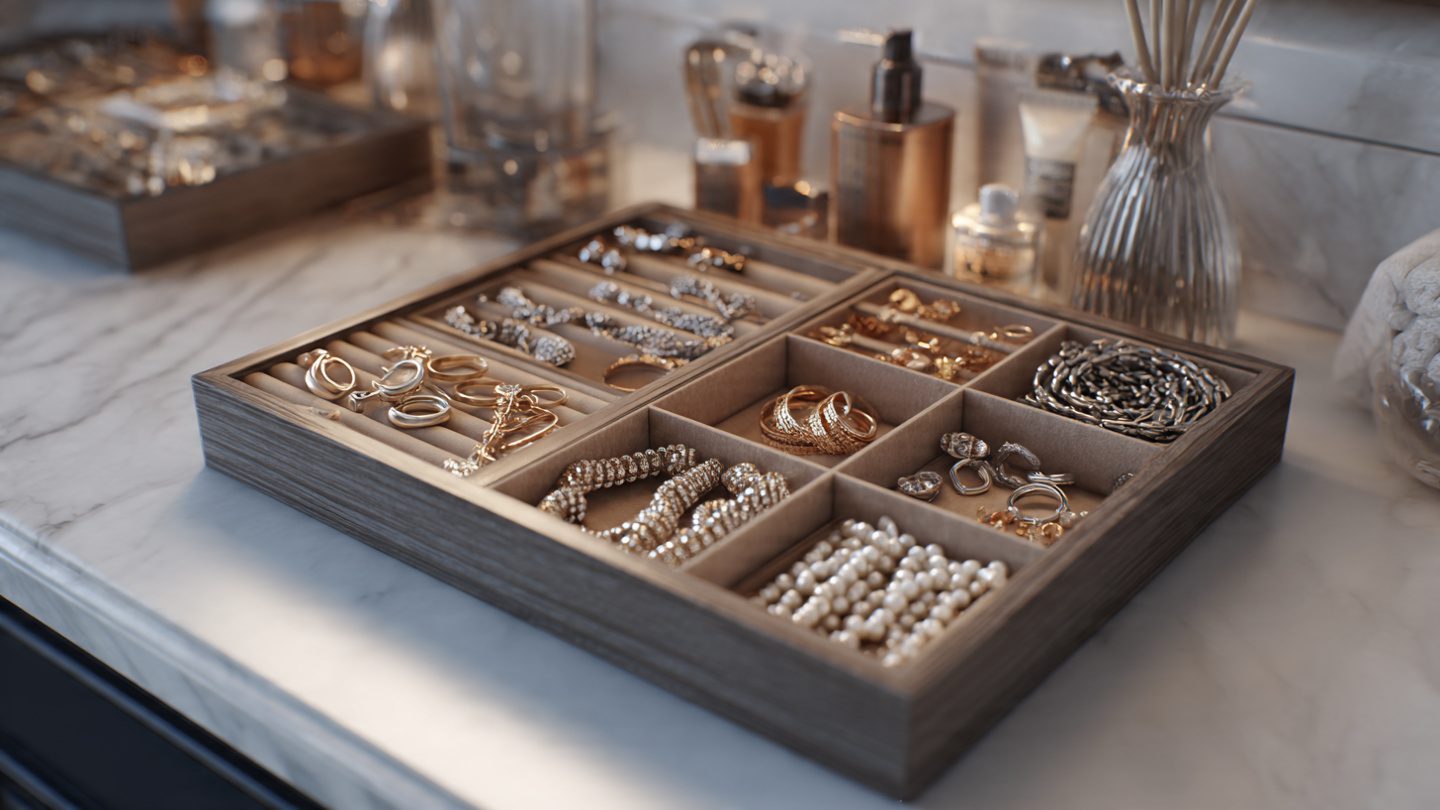
If you are looking for an eco-friendly and budget-conscious way to declutter your space, learning how to make your own jewelry organizer from recycled materials is the perfect solution. Creating a DIY jewelry organizer using recycled items not only reduces waste but also allows you to customize the size, design, and style to perfectly fit your collection. From old boxes and cans to scrap wood and fabric scraps, countless materials can be repurposed to craft a functional and attractive organizer. In this detailed guide, we’ll explore everything from selecting materials and planning your design to assembly techniques, decorating, and maintenance. Beginners and advanced crafters alike will benefit from step-by-step instructions, tips for maximizing storage efficiency, and creative design ideas. By the end of this tutorial, you’ll have a unique, stylish, and sustainable jewelry organizer that transforms your space and keeps your accessories neatly arranged.
Choosing the Best Recycled Materials for a Jewelry Organizer
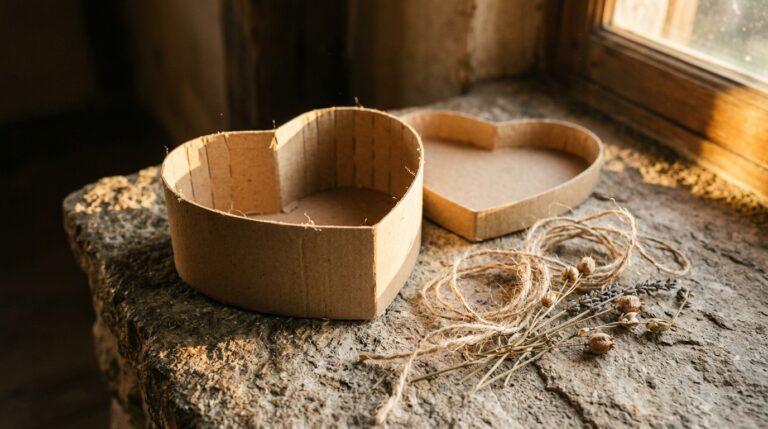
Selecting the right recycled materials is crucial for durability and aesthetic appeal. Popular choices include cardboard boxes, tin cans, wine corks, wooden crates, mason jars, and fabric scraps. Cardboard provides a lightweight, easily customizable option for small organizers. Tin cans can be repurposed as compartments for rings, earrings, or beads. Wooden crates or pallet pieces are sturdy and can be stacked or mounted on walls. Fabric scraps and old scarves can be used to line compartments, preventing scratches on delicate jewelry. Carefully selecting materials ensures both strength and a polished, professional look while keeping your project eco-friendly.
Planning Your Jewelry Organizer Layout
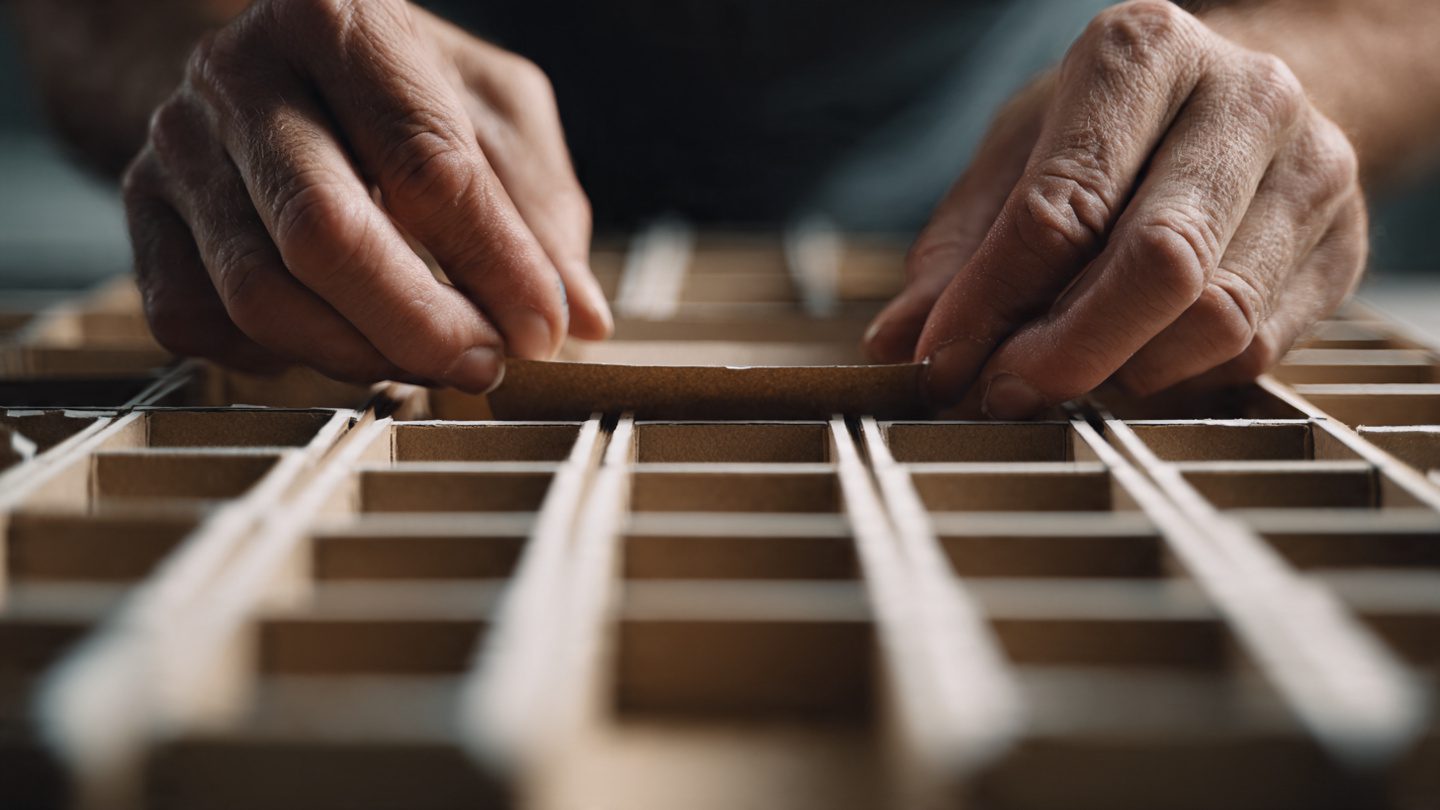
Planning is essential before cutting, gluing, or assembling materials. Decide whether you want a tabletop organizer, wall-mounted display, or a drawer insert. Measure available space to determine organizer dimensions and compartment sizes. Sketch a layout that separates earrings, necklaces, bracelets, rings, and other accessories for easy access. Think about modular designs that allow adding or removing compartments as your jewelry collection grows. Planning the layout also helps in choosing materials that match the scale and style of your organizer, reducing errors and wasted recycled materials.
Preparing Recycled Materials for Assembly
Before assembly, all recycled materials must be cleaned, prepped, and, if necessary, trimmed or reinforced. Remove labels, adhesives, or rust from containers. Sand rough edges of wood or cardboard for safety and a polished appearance. Consider reinforcing thin cardboard with additional layers or using masking tape to increase durability. Fabric linings can be pre-cut and glued or stitched for a smooth interior. Preparing materials properly ensures a long-lasting organizer and smooth assembly process.
Building Compartments and Sections for Jewelry Storage
Compartmentalization is key to an organized jewelry display. Use recycled boxes, small containers, or cardboard dividers to create sections for different types of jewelry. Stack compartments vertically or arrange horizontally depending on available space. Ensure compartments are wide and deep enough to store larger items like bangles or chunky necklaces. Use hot glue, tape, or small nails to secure dividers and prevent shifting. Adding modularity, like removable sections, makes cleaning and reorganizing simple. Properly designed compartments maximize storage efficiency while keeping jewelry visible and accessible.
Assembling a DIY Jewelry Organizer from Scrap Materials
Now it’s time to assemble your organizer. Start with the base, using a sturdy recycled box, wooden crate, or frame. Attach compartments and dividers with strong adhesives or nails. Check alignment frequently to ensure that compartments are level and stable. If creating a wall-mounted organizer, secure a backing board to the base for added strength. For multi-level organizers, make sure that stacked layers are evenly supported and balanced. Taking time during assembly ensures durability, prevents tipping or collapsing, and produces a professional-looking organizer.
Decorating Your Recycled Jewelry Organizer
A beautiful finish elevates your recycled organizer from functional to decorative. Paint, decoupage, or cover compartments with fabric, patterned paper, or contact paper. Add hooks, rods, or small nails for hanging necklaces or bracelets vertically. Embellish with recycled buttons, beads, or lace for extra charm. Use coordinating colors to match your room décor, making the organizer both practical and visually appealing. Decorative touches should not compromise functionality; ensure compartments remain accessible and spacious enough for jewelry.
Mounting and Placement for Maximum Efficiency
Where you place your organizer affects accessibility and usability. Tabletop organizers work well near vanities or desks, while wall-mounted displays save space and keep jewelry visible. Ensure wall-mounted organizers are secured with appropriate anchors, screws, or hooks depending on wall type. Place frequently used jewelry at eye level and less-used items higher or lower. Organizing placement by item type or frequency of use minimizes frustration when choosing accessories. Proper placement enhances daily routines and encourages tidiness.
Maintaining and Cleaning a Recycled Jewelry Organizer
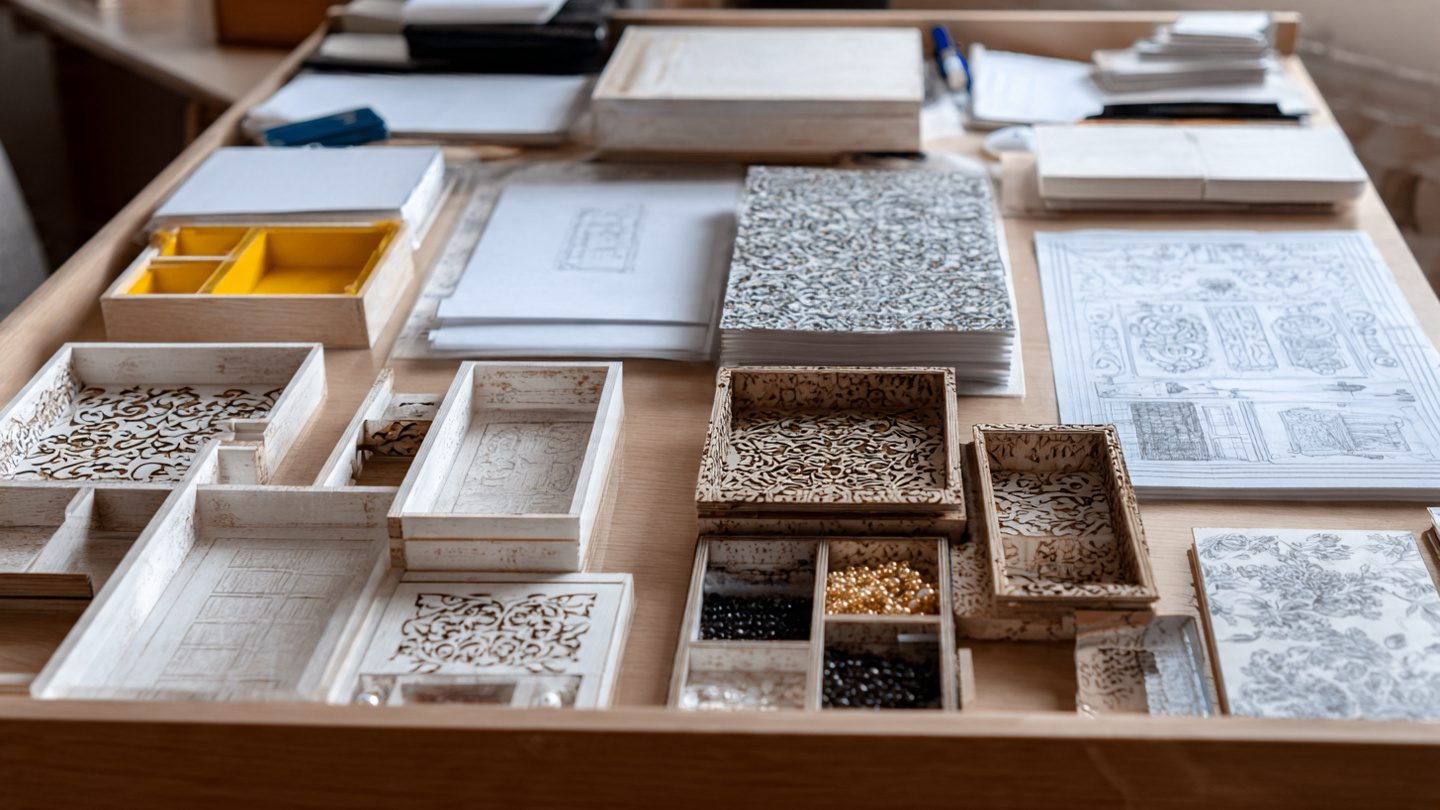
Regular maintenance prolongs the life of your DIY organizer. Dust compartments with a soft brush or microfiber cloth. Check for loose dividers or glued sections periodically, reinforcing as needed. Remove jewelry before cleaning any painted or decoupaged surfaces to avoid damage. Avoid exposure to excessive moisture, which can warp cardboard or wood. Maintaining the organizer ensures it remains functional, attractive, and safe for delicate jewelry items.
Troubleshooting Common DIY Jewelry Organizer Issues
Even well-planned organizers may encounter challenges. If compartments shift, reinforce them with extra adhesive or small brackets. Cracked recycled containers may need to be replaced or lined with tape for strength. Overcrowding can damage jewelry; adjust compartment size or add layers to expand storage. Uneven surfaces can be leveled using shims or additional backing layers. Documenting issues and addressing them promptly keeps your jewelry safe and the organizer durable over time.
DIY Nail Polish with Natural Ingredients – Recipe at Home
How to Make a Homemade Cork Bulletin Board – for Better Organization
DIY Paper Flower Wall Decoration – Step by Step
Summary
Learning how to make your own jewelry organizer from recycled materials is an eco-friendly, budget-conscious, and creative solution to decluttering your accessories. By selecting quality recycled materials, planning layouts, building compartments, decorating, and properly maintaining the organizer, you can create a durable, functional, and attractive piece. Whether tabletop or wall-mounted, a well-constructed jewelry organizer keeps your collection organized, visible, and easily accessible. This DIY approach combines sustainability, craftsmanship, and design, allowing you to create a truly unique and personal storage solution.
Frequently Asked Questions (FAQ)
- What are the best recycled materials for a jewelry organizer?
Cardboard boxes, wooden crates, tin cans, mason jars, wine corks, and fabric scraps are ideal options. - Can I make a wall-mounted organizer from recycled materials?
Yes, use a sturdy backing board, strong adhesives, and secure anchors to safely mount it. - How do I prevent jewelry from tangling in a DIY organizer?
Use compartments, hooks, rods, or padded dividers to separate necklaces, bracelets, and chains. - Is it safe to use painted or decoupaged recycled materials?
Yes, as long as paints, adhesives, and sealants are non-toxic and safe for household use. - How do I expand storage in a small space?
Stack compartments, add vertical sections, or use modular designs to maximize storage without increasing footprint.
Call-to-Action
Transform your messy jewelry collection into a beautifully organized display! Start crafting today with this how to make your own jewelry organizer from recycled materials guide. Share your creation and inspire others to embrace sustainable, stylish DIY projects.