Befrey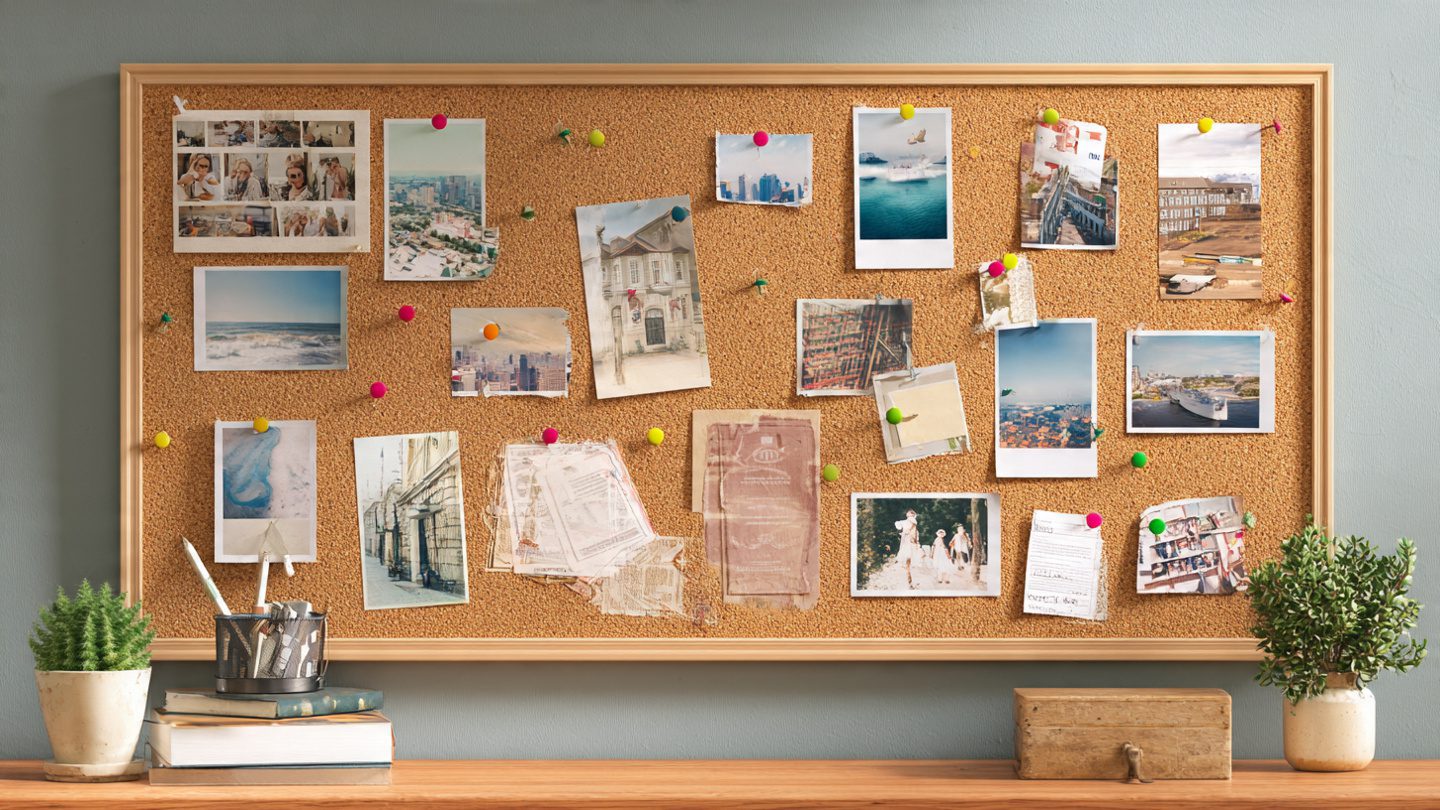
If you’ve ever struggled with cluttered notes, reminders, and schedules, learning how to make a homemade cork bulletin board – for better organization can be a game-changer. A cork bulletin board is a versatile and practical tool that allows you to pin important papers, photos, to-do lists, and creative inspirations in one centralized location. Crafting your own board at home not only saves money but also gives you full control over size, style, and design. In this guide, we’ll cover the process step by step, including choosing materials, preparing the cork surface, constructing the frame, mounting the board, and adding decorative touches. Whether you’re a beginner or an experienced DIY enthusiast, these techniques will help you create a functional, aesthetically pleasing bulletin board that transforms your workspace or home organization system. By following this comprehensive tutorial, you’ll master both practical construction skills and creative customization options, ensuring your cork board is both durable and stylish.
Selecting the Right Materials for a Homemade Cork Bulletin Board
Choosing the correct materials is essential for durability and functionality. High-quality cork sheets, sturdy backing boards like plywood or MDF, and a solid frame are critical. Cork comes in rolls or pre-cut sheets; thicker cork (around ¼ inch) is ideal for repeated pinning. Consider adhesives, such as spray adhesive or wood glue, to secure cork to the backing surface. Select a frame that complements your décor and provides structural support; wood is popular, but metal or repurposed frames work as well. Ensure tools such as rulers, saws, and cutting knives are ready. The combination of proper materials and tools sets the foundation for a professional-looking cork bulletin board.
Measuring and Cutting Cork for Your Bulletin Board
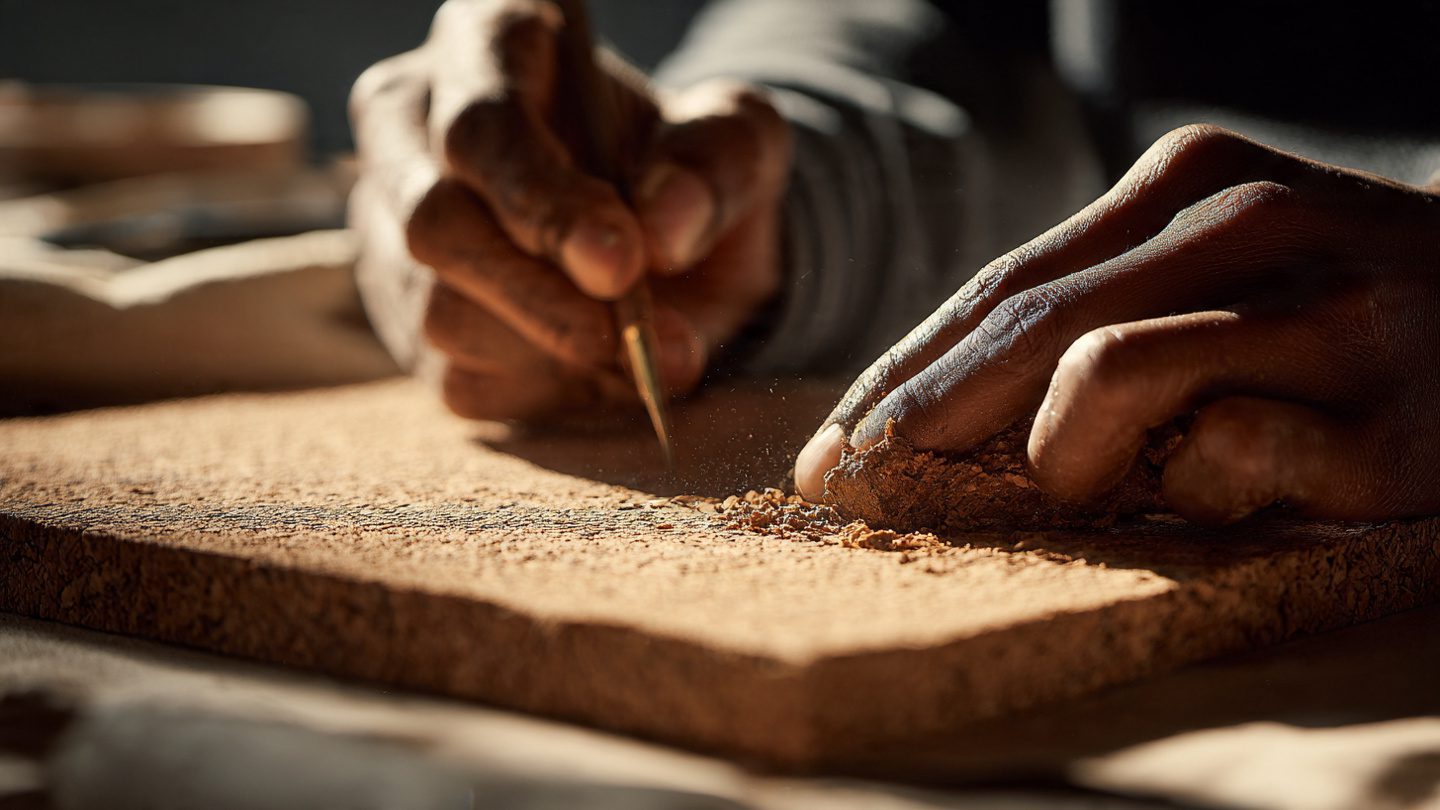
Accurate measurement and cutting are crucial for a polished final product. Measure your wall or desired board area to determine cork size. Use a straightedge or ruler and sharp utility knife for precise cuts. Always cut slightly larger than the backing surface to allow trimming and adjustments. Smooth any rough edges with sandpaper or a fine blade to prevent fraying. Precision in cutting ensures that cork fits snugly into the frame, providing both aesthetic appeal and structural stability. This step prevents gaps or uneven edges that could compromise the board’s usability.

How to Prepare the Backing Board for a Cork Bulletin Board
A sturdy backing board supports the cork and keeps the board flat over time. Plywood, MDF, or foam boards are excellent choices. Sand the board edges and surface to remove splinters and ensure smooth adhesion. Apply a primer or thin coat of paint if desired; this can prevent glue absorption and increase the cork’s lifespan. Attach the cork securely with adhesive, pressing firmly and evenly across the surface to avoid bubbles or wrinkles. Reinforce edges with additional adhesive or small pins if necessary. A well-prepared backing ensures a stable, durable bulletin board suitable for daily use.
Attaching the Cork to the Backing – Step by Step
Attaching the cork requires careful alignment and patience. Lay the cork flat on a protected surface. Apply adhesive evenly across the backing board; for larger boards, work in sections to prevent premature drying. Place the cork sheet onto the adhesive and press firmly, using a rolling pin or flat object to ensure full contact. Smooth out air pockets, wrinkles, and uneven areas to maintain a clean, flat surface. Allow adhesive to cure completely, typically 12–24 hours. This method guarantees that your cork will stay in place during repeated pinning and handling.
Constructing and Installing the Frame for a Cork Bulletin Board
The frame provides both visual appeal and structural support. Choose frame materials that complement your room—wood, metal, or repurposed materials. Cut frame pieces accurately, mitering corners for a clean look. Use wood glue, nails, or screws to assemble the frame, ensuring tight joints. Sand and paint or stain as desired before attaching it to the cork-covered board. Secure the cork board into the frame using small nails, staples, or strong adhesive. The finished frame elevates your board from simple functionality to a decorative home accessory.
Mounting Your Homemade Cork Bulletin Board on the Wall
Proper mounting ensures safety and usability. Select wall space that is accessible and visible. Use a level to ensure straight placement. Choose anchors, screws, or brackets suitable for your wall type—drywall, plaster, or brick. Mark positions carefully and drill pilot holes if necessary. Hang the board and verify stability; gently press to confirm the frame is secure. Adding hanging hardware, such as D-rings or wire, can improve long-term reliability. Proper mounting guarantees your board withstands regular pinning, note adjustments, and decorative additions.
Organizing and Personalizing Your Cork Bulletin Board
Once mounted, the board can be tailored for maximum organization. Divide sections for work tasks, personal notes, reminders, or inspirational quotes. Use color-coded pushpins or sticky notes for visual categorization. Consider adding mini pockets, clips, or decorative tape to hold items like receipts or business cards. Label sections for clarity and consistency. Personalized touches, like photos or small ornaments, enhance engagement and visual appeal. Strategic organization ensures the board functions efficiently as both a practical tool and a decorative element.
Decorative Enhancements and Customization Ideas
Enhancing your cork board with decorative elements makes it a centerpiece in any room. Consider adding painted borders, patterned washi tape, or fabric overlays. Embellish with 3D elements, such as small paper flowers, magnets, or layered cutouts. Use color coordination with your office or room décor to create cohesion. Seasonal decorations or themed arrangements can be swapped out, keeping the board dynamic and engaging. Customization encourages use and boosts aesthetic appeal, making your bulletin board both functional and artistic.
Troubleshooting and Maintaining a Cork Bulletin Board
Even well-crafted boards may encounter minor issues. Curling edges can be corrected by applying additional adhesive and pressing overnight. Pins that leave excessive holes may indicate thin cork; adding a thin secondary cork layer improves resilience. Dust and debris can be removed gently with a soft brush or compressed air. Avoid excessive moisture, which can warp both cork and backing. Regularly check the frame and mounting hardware to maintain stability. Maintenance ensures longevity and preserves both functionality and appearance.
DIY Paper Flower Wall Decoration – Step by Step
How to Make Your Own Candle at Home – A Simple Process for Beginners
Summary
Learning how to make a homemade cork bulletin board – for better organization combines practicality, craftsmanship, and creativity. By selecting the right materials, accurately measuring and cutting cork, preparing a sturdy backing, and constructing a durable frame, you create a versatile tool for notes, reminders, and inspiration. Proper mounting, organization, and decorative customization enhance usability and aesthetic appeal. Maintenance and troubleshooting extend the life of your board, making it an invaluable addition to any home or office.
Frequently Asked Questions (FAQ)
- What type of cork is best for a homemade bulletin board?
Thick, high-quality cork sheets around ¼ inch are ideal for durability and repeated pinning. - Can I reuse a cork bulletin board for different purposes?
Yes, you can easily rearrange pins, notes, and decorations without damaging the cork. - What adhesives work best for attaching cork to the backing?
Spray adhesive or wood glue provides strong, even adhesion. Hot glue can also be used for small areas. - How do I prevent the cork from curling at the edges?
Press edges firmly with adhesive and weight them down while curing. Adding a secondary layer can increase stability. - Is it possible to decorate the cork without compromising functionality?
Yes, use light paints, washi tape, or fabric overlays while leaving enough exposed cork for pinning.
Call-to-Action
Upgrade your organization today by creating a DIY cork bulletin board! Follow this how to make a homemade cork bulletin board – for better organization guide to craft a functional, stylish, and personalized board that transforms your space. Share your creations with friends and inspire others to stay organized in style.