The Ultimate Guide to Authentic Homemade Gyros: A Donchilim Kitchen Masterclass
 Befrey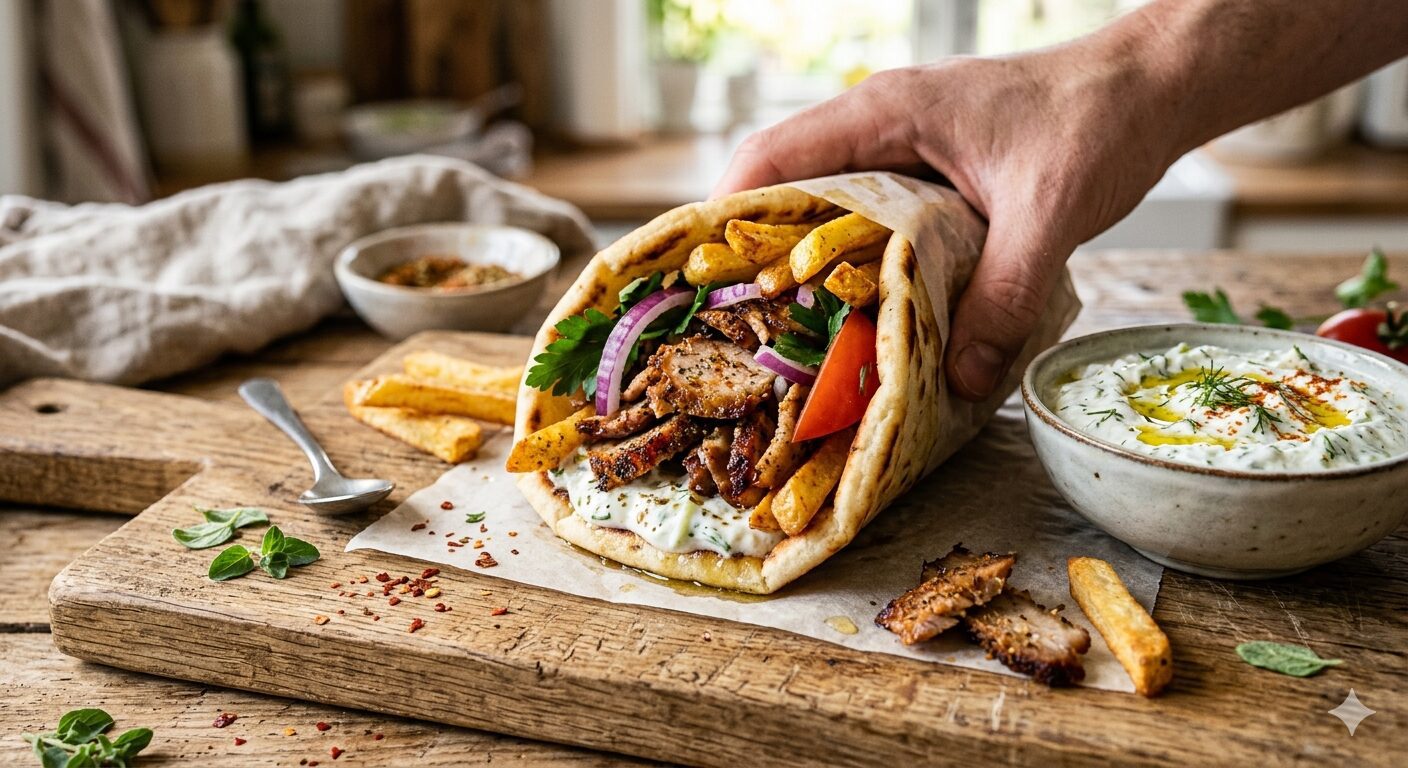
There is something hypnotic about a giant cone of meat slowly rotating on a vertical spit in a Greek taverna. The aroma of searing fat, the blend of Mediterranean herbs, and the crisp edges of the meat are enough to make anyone’s mouth water. But what if you don’t have a commercial rotisserie in your kitchen?
In today’s Donchilim special, we are breaking down the barriers of traditional Greek street food. We are bringing the streets of Athens directly to your home. This isn’t just a recipe; it’s a deep dive into the soul of Mediterranean comfort food.
The Origin and Soul of the Gyros
The word “Gyros” (pronounced YEE-ros) literally means “turn” or “circle.” It’s a cousin to the Turkish Döner Kebab and the Middle Eastern Shawarma. While the concept of stacked meat on a spit dates back centuries, the Greek version became a global icon in the 20th century. Traditionally made with pork or chicken (and sometimes lamb or beef), a true Gyros is defined by its texture—thinly sliced, crispy on the outside, and incredibly juicy on the inside.
Why Make Gyros at Home?
You might ask: “Why not just go to the local Greek deli?” The answer is simple: Control and Quality. When you make Homemade Gyros with the Donchilim method, you control the salt, the quality of the fat, and most importantly, the intensity of the spices. Plus, there is a certain “bragging right” when you serve a platter of perfectly seasoned meat to your friends and family.
Phase 1: Choosing the Right Meat
For an authentic result at home, the cut of meat is everything.
-
Pork: If you want the traditional Greek experience, go for pork butt (shoulder). It has the perfect fat-to-lean ratio. The fat melts during the roasting process, basting the meat from the inside.
-
Chicken: If you prefer something lighter, use boneless, skinless chicken thighs. Never use breasts; they will dry out before you get that signature char.
-
The Donchilim Mix: Sometimes, a blend of ground beef and lamb can create a “loaf” style Gyros (common in the US), but today, we are focusing on the sliced, whole-muscle technique for maximum texture.
Phase 2: The Legendary Donchilim Marinade
The secret is in the acid and the herbs. You need to marinate the meat for at least 4 to 12 hours.
The Ingredients:
-
Greek Yogurt: The lactic acid tenderizes the meat fibers without making them mushy.
-
Lemon Juice & Red Wine Vinegar: For that essential Mediterranean tang.
-
Garlic: Plenty of it. Freshly minced.
-
Dried Oregano: Use the high-quality Greek variety if possible.
-
Smoked Paprika: To mimic that “fire-grilled” smokiness.
-
Cumin and Coriander: For depth and earthiness.
-
Salt and Black Pepper: Be generous.
Phase 3: The “Kitchen Hack” Roasting Technique
Since we don’t have a vertical spit, we use the “Sheet Pan” or “Loaf Pan” method.
-
The Loaf Method: Pack the marinated slices tightly into a loaf pan, pressing down hard. Bake until the internal temperature reaches $74^\circ C$ (165°F). Once cooled slightly, slice it paper-thin.
-
The Skewer Method: Thread the meat onto two parallel skewers and roast it elevated over a baking tray. This allows the hot air to circulate $360^\circ$, giving you those crispy edges.
-
The Final Sear: After slicing the meat, give it a quick “flash fry” in a scorching hot cast-iron skillet. This is the Donchilim secret to getting that authentic street-food crunch.
Phase 4: The Supporting Cast (Pita and Toppings)
A Gyros is only as good as its envelope.
-
The Pita: Don’t use dry, pocket-style pitas. You need Greek Flatbread. Brush it with olive oil and heat it on a pan until it’s soft and pliable. It should be able to wrap around the meat without cracking.
-
The Fries: Yes, real Greek Gyros has fries inside the wrap. It adds a salty, starchy crunch that is non-negotiable.
-
The Veggies: Thinly sliced red onions, juicy tomatoes, and maybe some crisp cucumber.
Phase 5: The Tzatziki – The Heart of the Wrap
Never buy store-bought tzatziki. It’s usually too thin and lacks the garlic punch.
The Donchilim Tzatziki Method:
-
Grate a whole cucumber and squeeze out every drop of water using a cheesecloth. This is the most important step.
-
Mix with thick, full-fat Greek yogurt.
-
Add extra virgin olive oil, fresh dill, and a massive amount of garlic.
-
Let it sit in the fridge for an hour so the flavors can marry.
Low-Sugar Recipes for People with Diabetes
Step-by-Step Assembly
-
Lay your warm pita on a piece of parchment paper.
-
Smear a generous tablespoon of Tzatziki down the center.
-
Pile on the hot, crispy Gyros meat.
-
Add 2-3 slices of tomato and some red onion.
-
Stuff in a handful of hot fries.
-
Sprinkle with extra oregano and a dash of paprika.
-
The Roll: Use the parchment paper to help you roll it tight. A loose Gyros is a messy Gyros.
Nutritional Information and Healthy Alternatives
While Gyros is a treat, you can make it “Donchilim Healthy.” Switch to chicken thighs, double the salad, and use a low-fat yogurt for the tzatziki. It’s a high-protein meal that keeps you full for hours.
Common Mistakes to Avoid
-
Crowding the pan: If the meat is too crowded, it will steam instead of brown.
-
Under-seasoning: Meat loses some flavor intensity during cooking; don’t be afraid of the spices.
-
Cold Pita: A cold pita will ruin the experience. Keep them warm and oily.
Conclusion: Your Journey to Pitmaster Status
Making Homemade Gyros is a labor of love, but the result is incomparable. It’s a dish that brings people together, messy hands and all. By following the Donchilim method, you’re not just cooking; you’re preserving a tradition and perfecting a craft.
Watch our exclusive video above to see the texture of the meat and the technique of the roll in action. Once you’ve mastered this, there is no going back to the frozen stuff.
Ready to fire up the oven? Let’s get cooking!